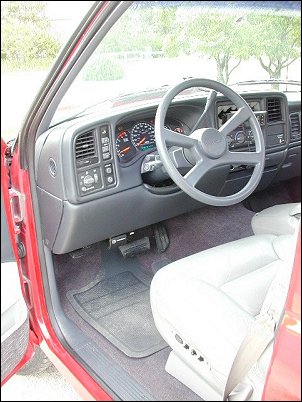
- Interior Details June Update The interior of the truck is now about 98% complete. I still need to decide what to do about a stereo/CD player, mount the functional 1989 HVAC controller in a permanent location, and complete a trim panel around the lower half of the steering column. As you can see in this photo, the 1995 Suburban leather seats, console, graphite carpet and trim panels have been installed.
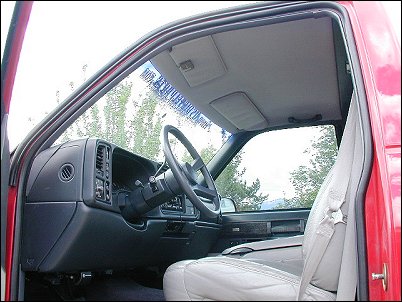
The headliner was recovered using gray headliner material purchased from a local fabric store, and was applied using a spray contact adhesive. An area auto upholsterer stripped and recovered the sun visors using the same fabric. Headliner material is produced using felt cloth backed with a foam layer about 1/8" thick. The gaps in the corners of the 2001 dash that remained after installing the A-pillar moldings were covered using a thin textured ABS plastic sheet that had been cut to shape, formed using a heat gun, then were OEM color-matched using graphite trim paint. Once painted, the filler pieces were glued in place using a contact adhesive intended for Formica.
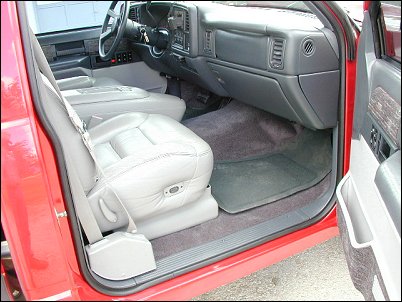
The graphite carpet is a Nifty brand product purchased through Summit Racing. The carpet comes pre-formed to the floorpan shape, and has a thin pad pre-applied to the seat and footwell areas. As instructed in the installation instructions, I re-used the original heat barrier pad (foil-faced fiberglass) on the passenger side and some of the original padding in the footwell areas and under/behind the seat mounts for the driver's side. Padding helps to reduce noise as well as insulate the cab from the heat produced by the exhaust system. The outer seat mounting holes in the floorpan fit the Suburban seat frames, but I needed to drill new mounting holes in the cab floor for the inner seat frames (this truck was originally equipped with a bench seat). Due to a difference in floor pan design between 1989 & 1995, I needed to modify the inner seat frame on the driver's side so the seat sat level - lowering just the inner seat frame about ¾". 
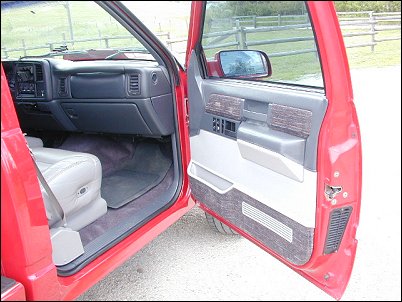 Each door panel was modified where the upper forward area flared out to meet the original 1989 dash. The new wider 2001 dash required removal of most of the flare. A new flat 1/8" thick ABS panel was plastic-welded into where the flare had been, then the joint was smoothed with polyester auto body filler and sandpaper. I used a 35-watt soldering iron to weld the new panel into position on the modified door panel. Once satisfied with the new flatter contour, the modified areas were covered with vinyl Naugahyde and contact adhesive. The photo on the left shows what was removed from the original door panel. Once the door panels modifications were complete and the original carpeted and fabric-covered panels were stripped, the door panels were repainted using an automotive interior trim paint. Once painted, the carpeted and fabric covered panels were recovered using matching automotive cloth and contact adhesive. One thing I learned in this process is that you should use a good contact adhesive, like that intended for upholstery, and not a hobby/craft spray contact adhesive. Contact adhesive produced for adhering upholstery is the real deal, and won't loosen its grip over time. Stay away from the hobby/craft contact adhesives. Ask me how I know this.... 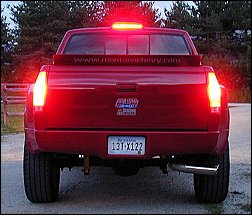
I've put about 500 miles on the truck since mid May. It's a real kick to drive!
Stay tuned! TDP Duramax Diesel Power Project
What's New: | Feature Articles: | Product Reviews: | Member's Area: Join Us: | Duramax Diesel Page: | Advertisers: | Classified Ads: | Books:
Send e-mail to: turbo@TheDieselPage.com |